
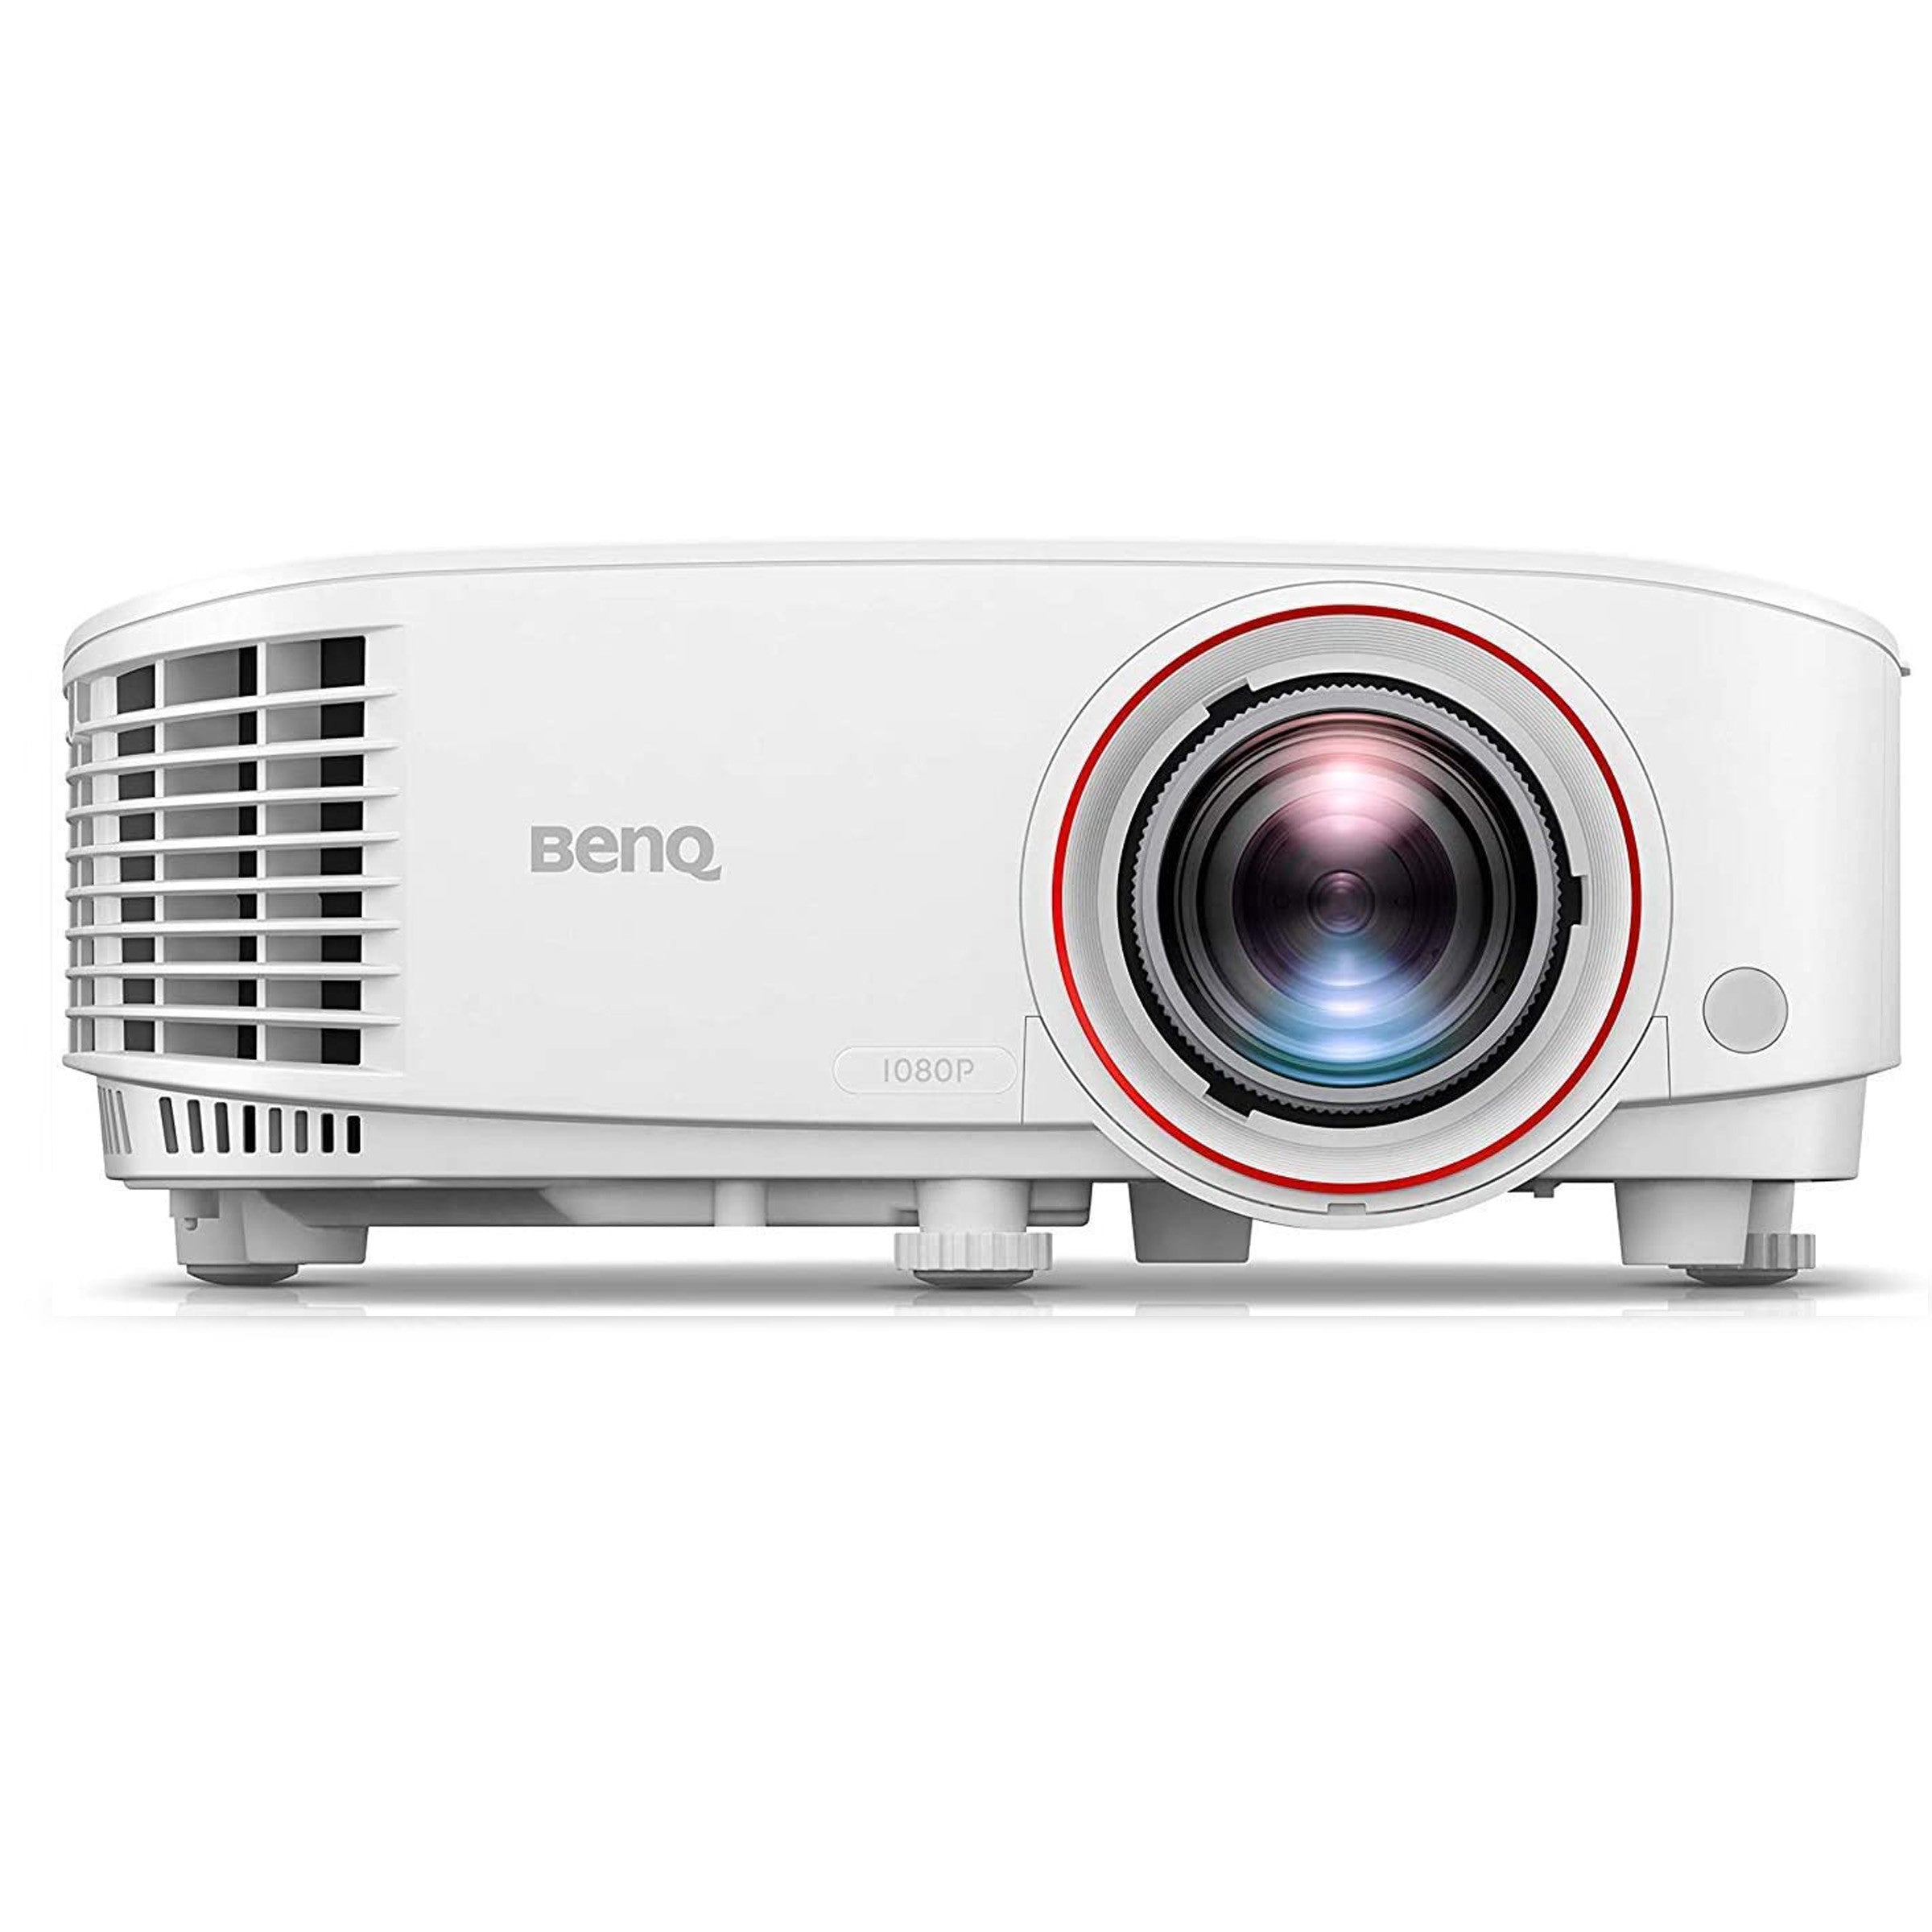
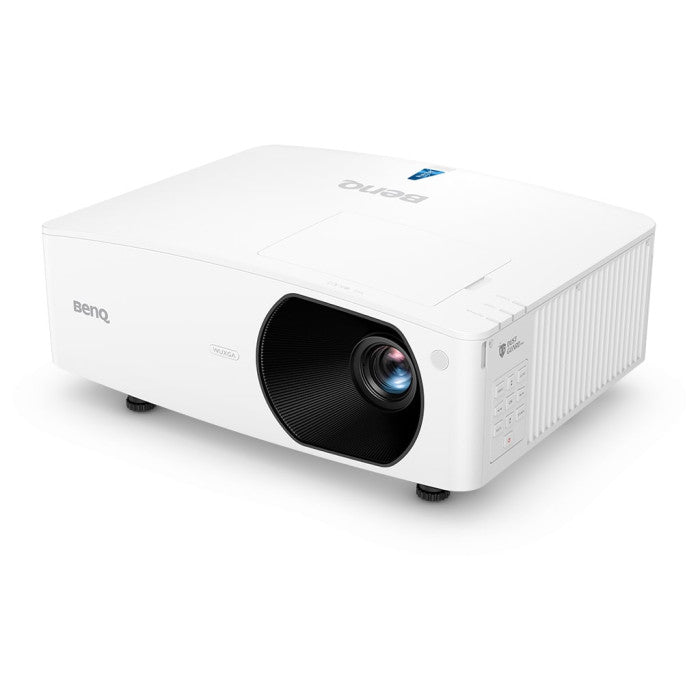
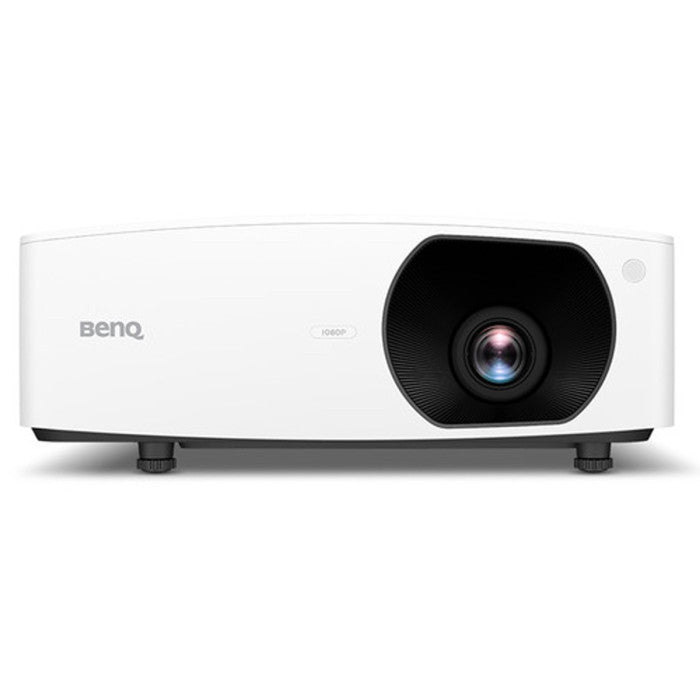
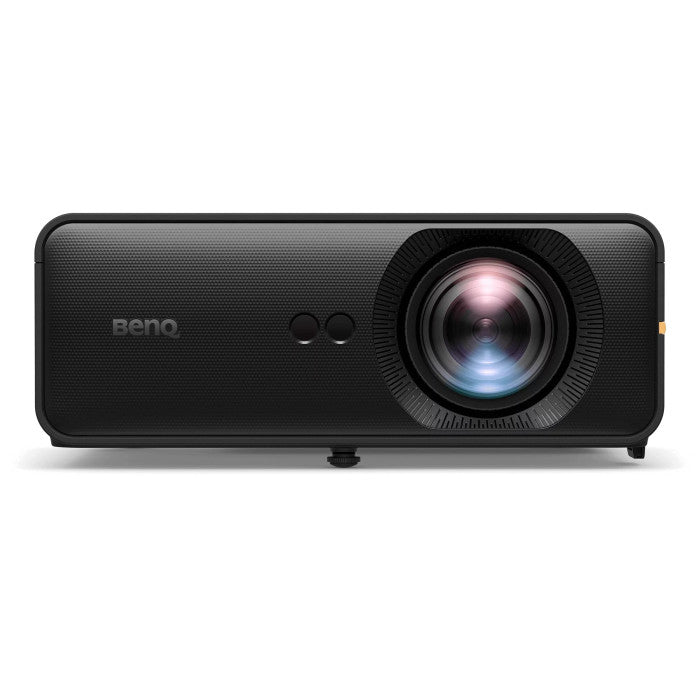
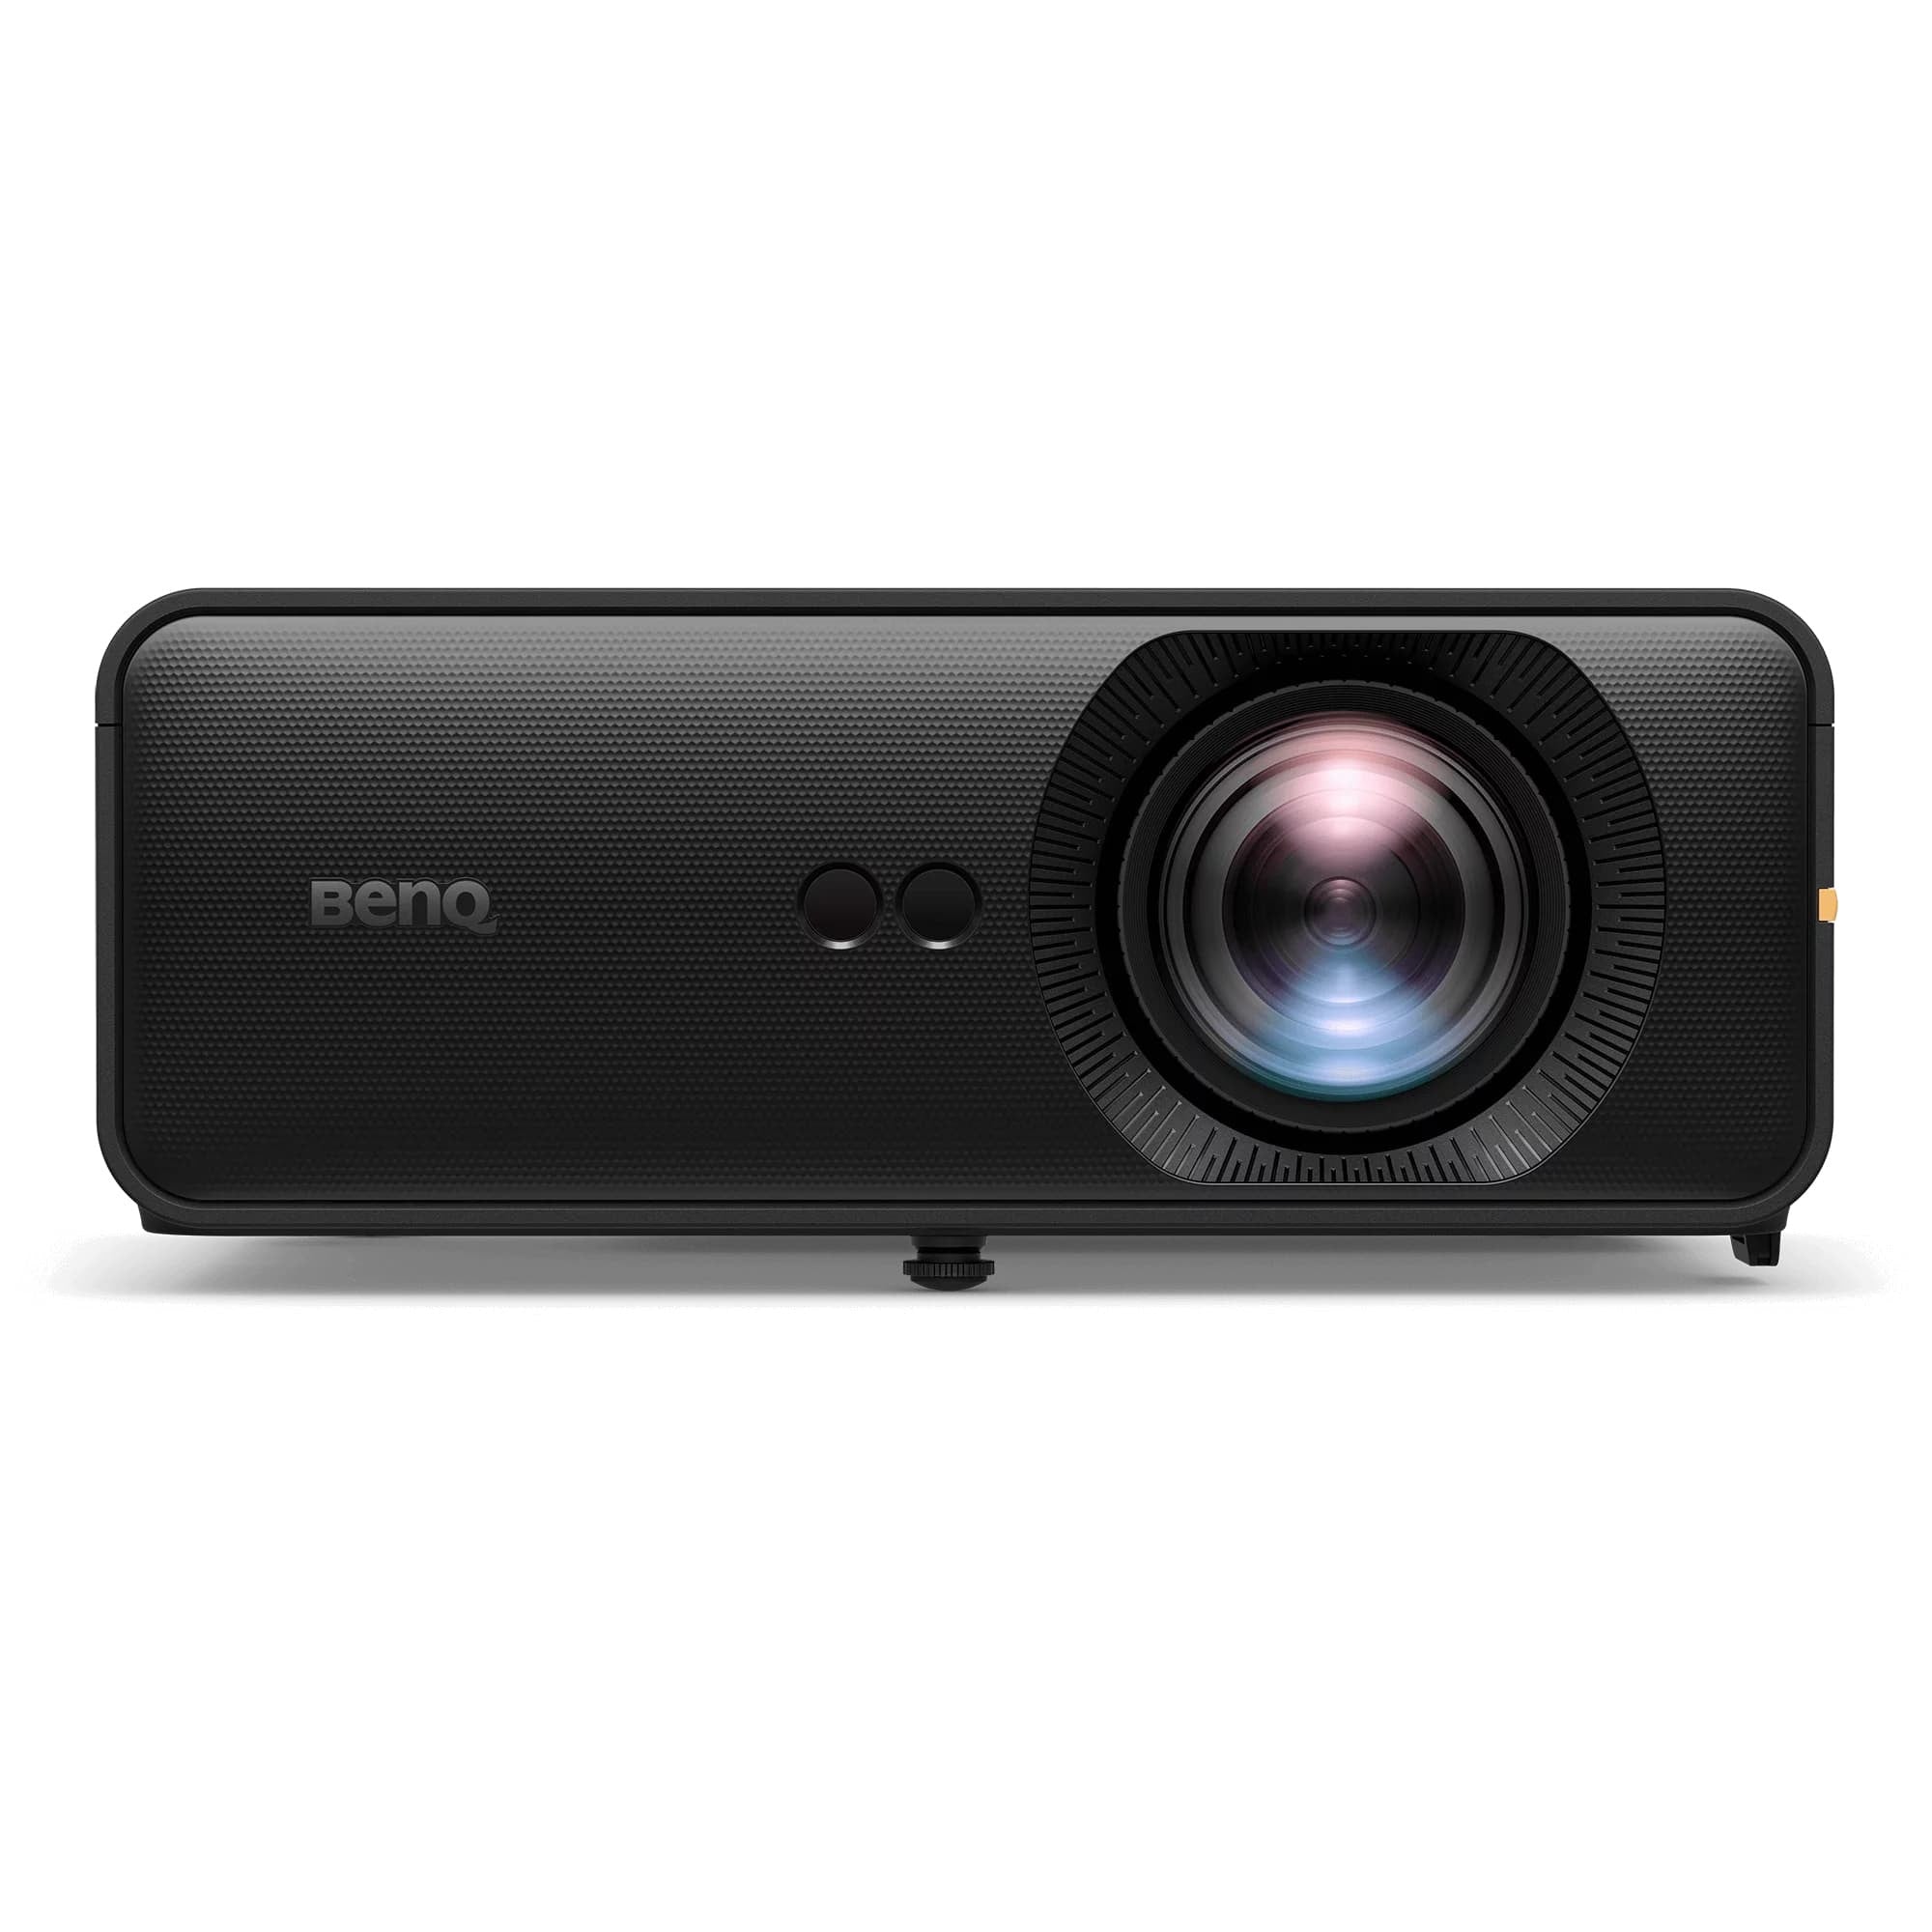
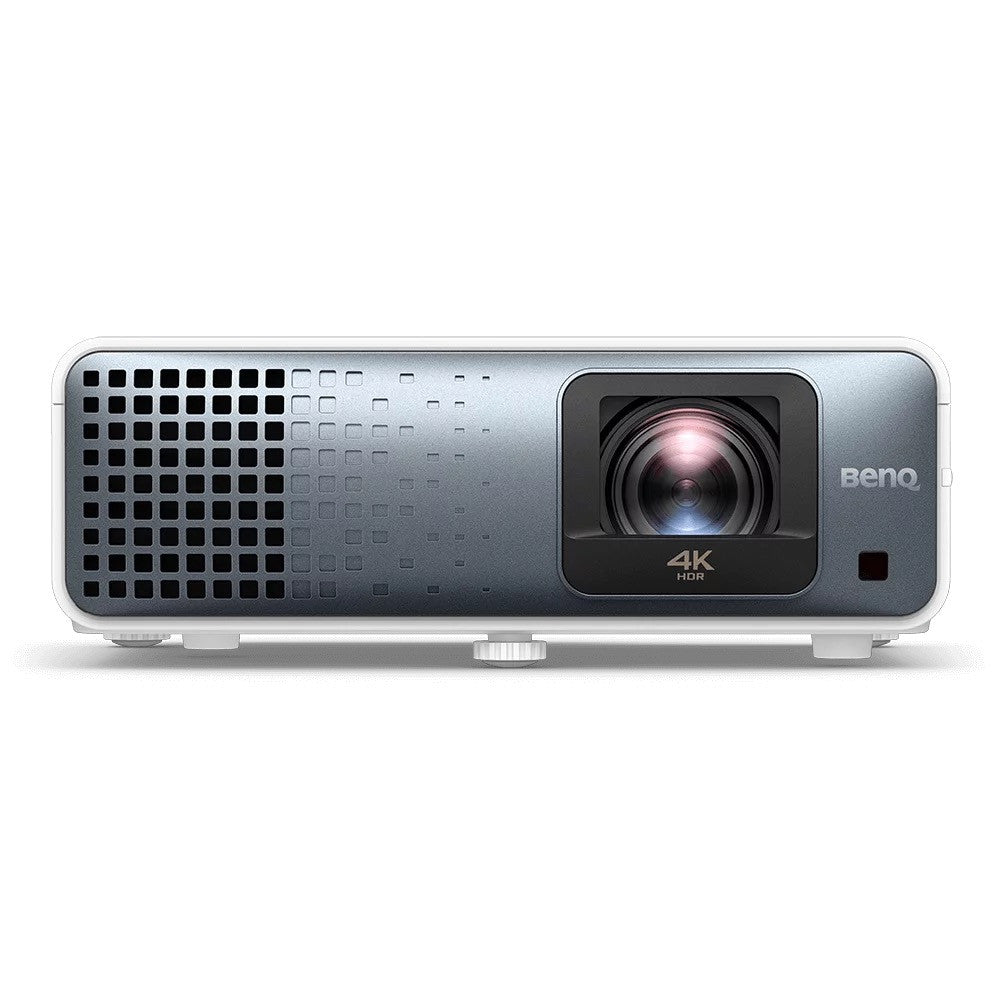
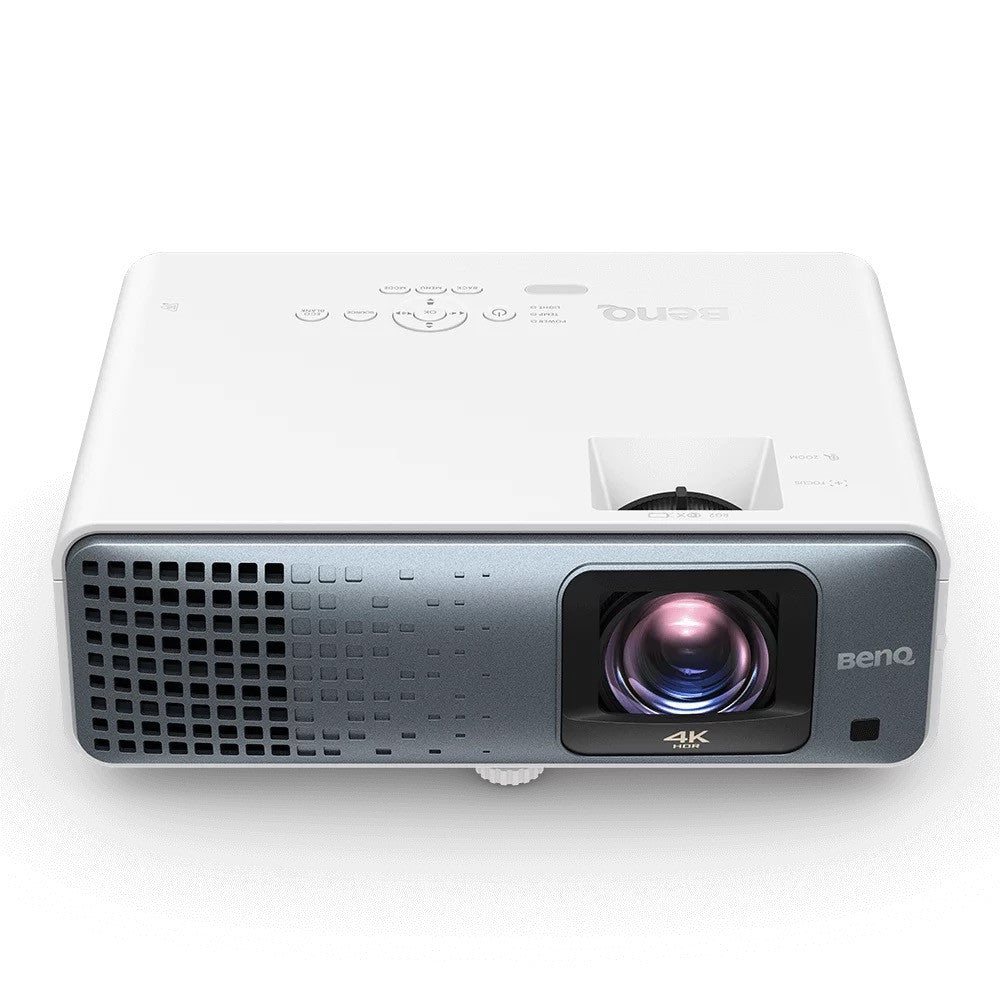
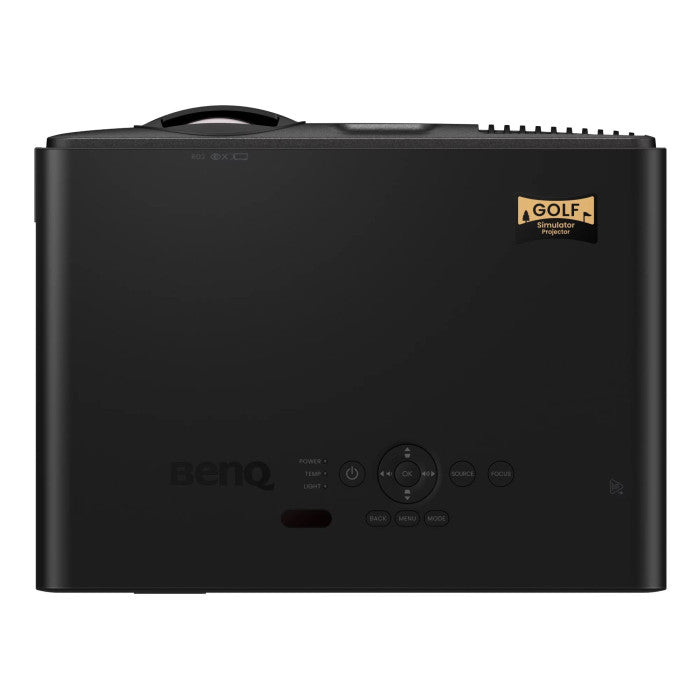
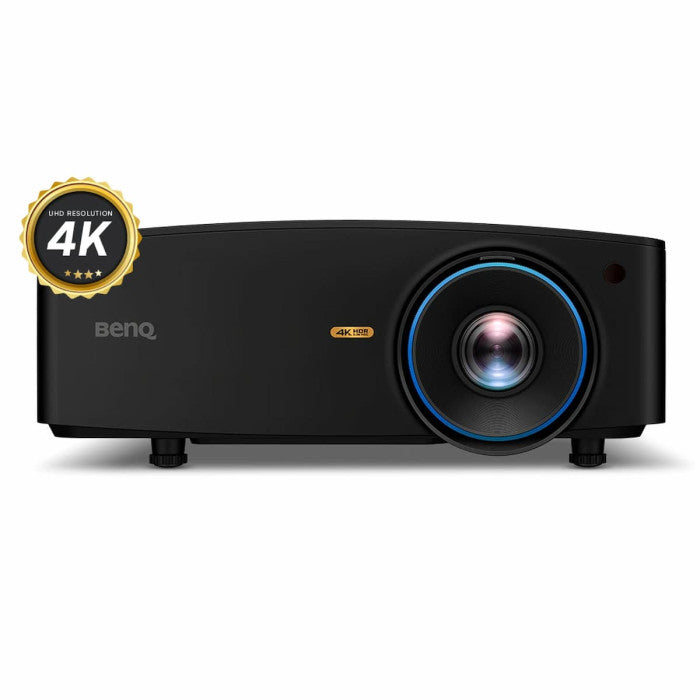
Golf Simulator Projectors
Upgrade your indoor golf experience with high-performance golf simulator projectors from Golf Simulator Depot. Our curated collection features top-tier models like BenQ that deliver vivid 4K UHD resolution, super-short throw lenses, and brilliant brightness—perfect for realistic visuals, enhanced depth perception, and immersive play. Whether you're building a simulator in a basement, garage, or dedicated golf room, these projectors offer the precision, clarity, and reliability serious golfers demand.
Sort by
11 products
Filters


Why Your Golf Simulator Projector Matters
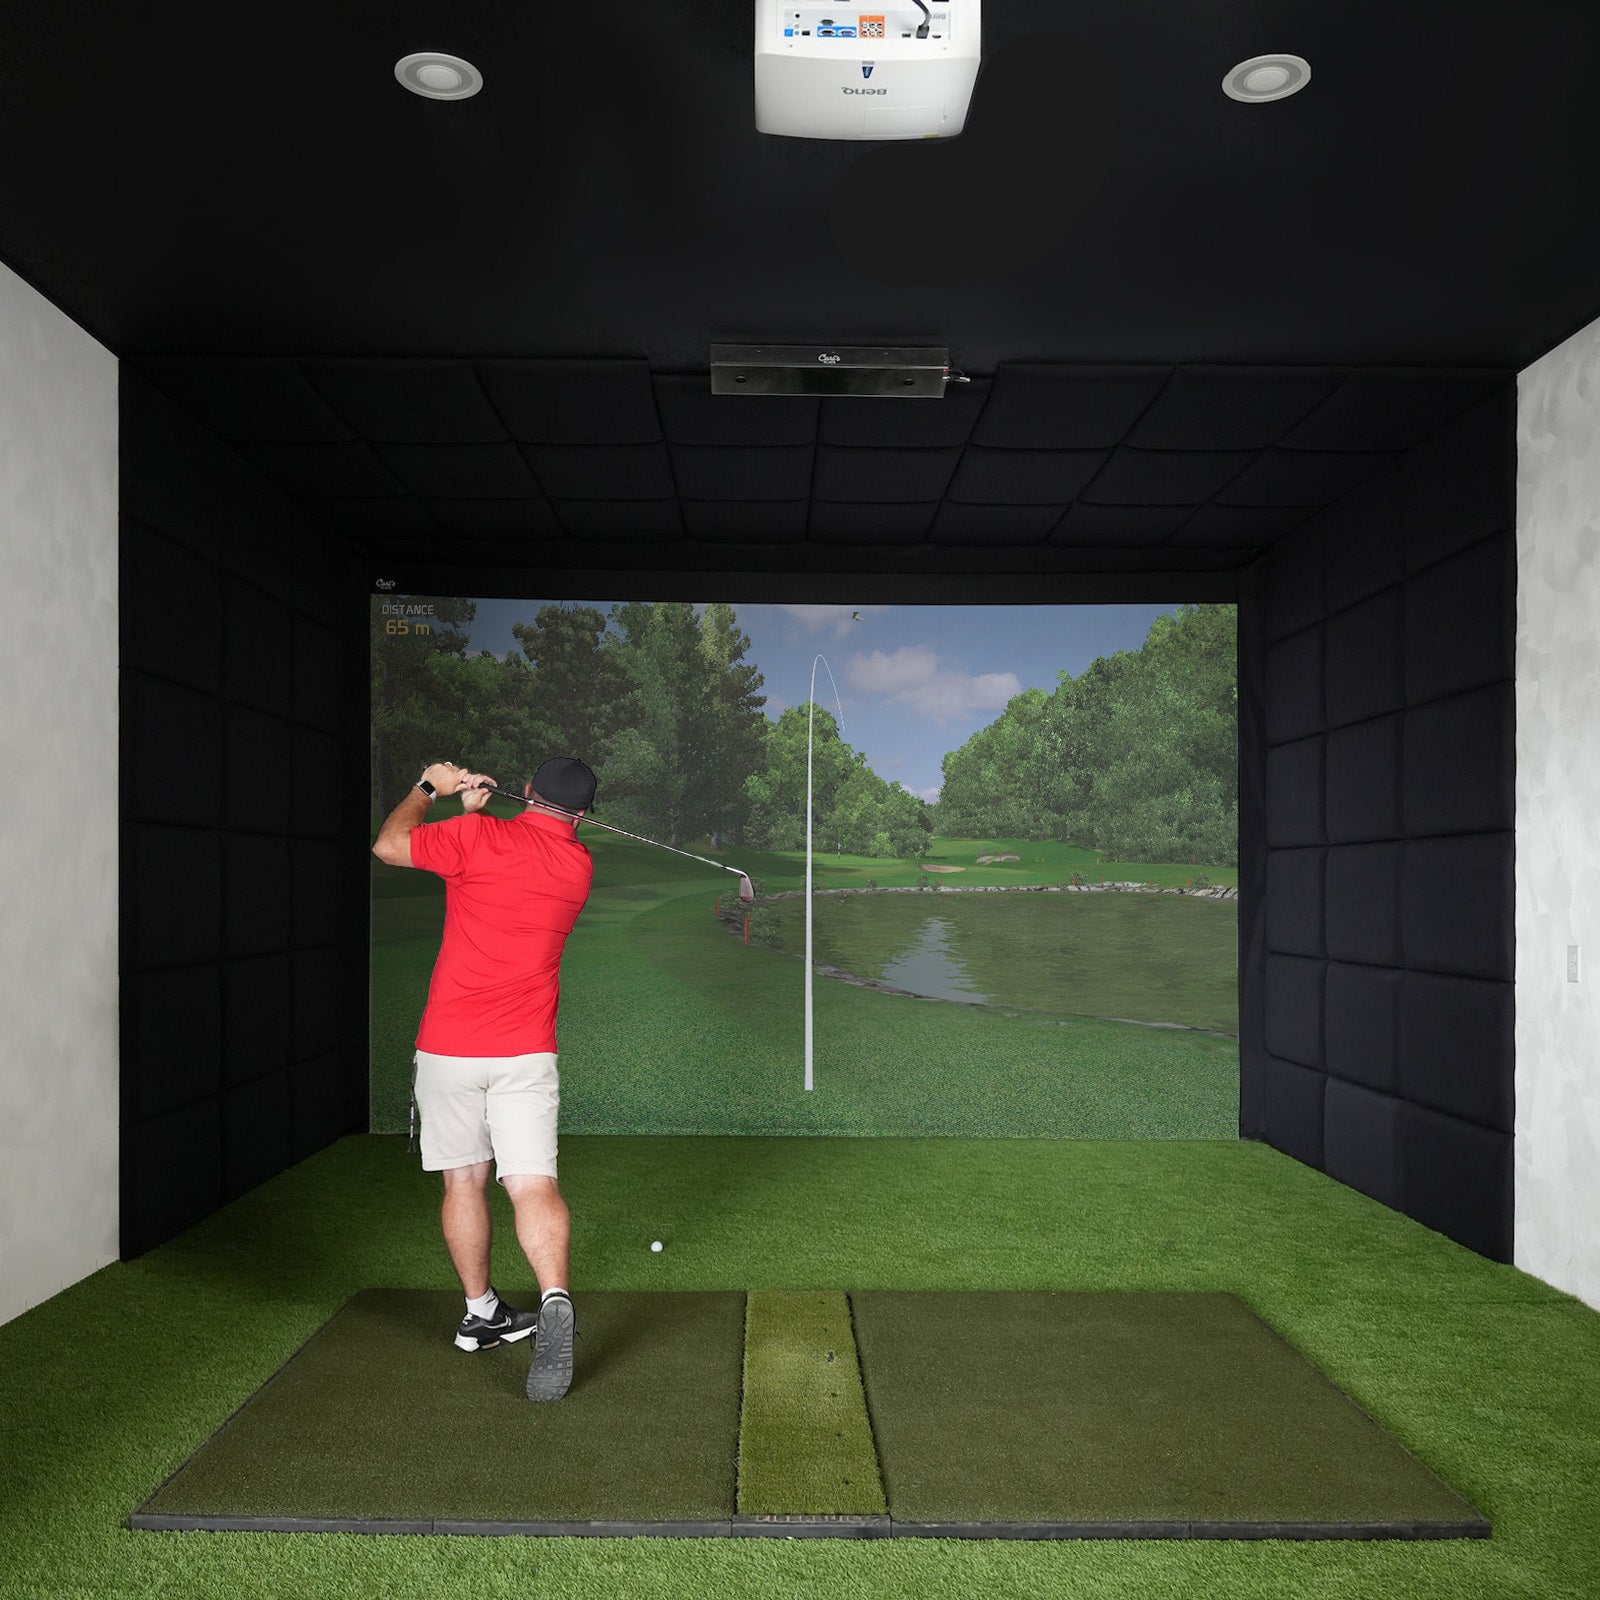
Let’s get real for a second: a golf simulator is only as good as the visuals it delivers. You can have the most cutting-edge launch monitor, the plushest turf mat, and an enclosure that looks like it belongs in a PGA Tour pro’s basement, but if your projector is grainy, dim, or just plain unreliable, the whole experience falls apart. A projector isn’t just a piece of tech in your setup—it’s the window to the fairways of Pebble Beach, the greens of Augusta, or that quirky local course you’ve always wanted to conquer. Skimp here, and you’re not just missing pixels; you’re missing the magic.
Think about it. When you step into your simulator, you’re not just swinging a club—you’re transporting yourself. A top-tier projector brings every blade of grass, every bunker shadow, and every ripple on a digital lake into sharp, vivid focus. We’re talking 4K resolution if you can swing it, or at least a solid 1080p with high lumens to battle ambient light in your garage or spare room. Brightness matters more than you’d think—too dim, and you’re squinting to spot the pin; too harsh, and you’re wincing instead of focusing on your backswing. The sweet spot is a projector that can handle your space’s lighting conditions while delivering colors that pop without looking cartoonish.
Then there’s latency. If your projector lags even a fraction of a second, good luck trusting the feedback on your shot. Golf is a game of precision, and a delayed image can throw off your rhythm faster than a shanked drive. Look for low input lag—ideally under 30 milliseconds—if you want the visuals to keep pace with your swing data. And don’t forget throw distance. Not everyone has a cavernous room to work with, so short-throw projectors can be a game-changer, letting you project a massive, immersive screen from just a few feet away.
This isn’t just about specs, though. A great projector transforms the vibe of your simulator. It’s the difference between feeling like you’re playing a video game and feeling like you’ve stepped onto the course. When the image is crisp and the colors are right, you’re not just practicing—you’re escaping. You’re smelling the fresh-cut grass in your mind, hearing the distant chirp of birds, even if it’s pouring outside or the ground is frozen solid. That’s the power of a projector done right: it doesn’t just show you the game; it makes you feel it.
Ready to Tee Off at Home with Golf Simulator Depot?
Hey there, golf fanatics! If you’ve been dreaming of perfecting your swing without braving the elements—or just want to bring the thrill of the fairway into your own space—Golf Simulator Depot is your ultimate caddie. We’re not just selling gear; we’re delivering the joy of golf straight to your doorstep, rain or shine. Our curated selection of top-tier golf simulator projectors, launch monitors, and setups is built to match your space, budget, and passion. Let’s make your home the hottest course in town!
Why choose us? Here’s the scorecard:
- Pro-Level Gear: We’ve got the best projectors and tech to ensure your simulator feels like the real deal—crystal-clear visuals, spot-on accuracy.
- Expert Guidance: Our team’s got your back with tailored advice and easy install resources to get you swinging ASAP.
- Bundle Savings: Fast shipping, trusted brands, and deals that make building your dream setup a no-brainer.
- Year-Round Play: Rain, snow, or scorching heat—play on your schedule, sharpen skills, and make memories.
Don’t just dream about the game. Click now to explore our golf simulator projectors and let Golf Simulator Depot bring the course to you!
Key Specs to Compare: Lumens, Throw Ratio, Resolution
Alright, let’s dive into the nitty-gritty of golf simulator projectors, because picking the right one isn’t just about slapping a box on your shelf and calling it a day. This tech is your window to the fairway, and if the specs don’t line up with your setup, you’re in for a rough round. We’re talking lumens, throw ratio, and resolution—three pillars that can make or break your indoor golf experience. Let’s break them down with the kind of detail you’d expect from a post-round debrief over a cold one.
First up, lumens. This is all about brightness, and trust me, you don’t want to squint at a washed-out image of the 18th green while you’re lining up a putt. For most indoor setups, you’re looking at a minimum of 3,000 lumens to combat ambient light and keep the visuals crisp. Got a darker, dedicated space? You might get away with less. But if your simulator room doubles as a family hangout with windows or overhead lights, push for 4,000 or more. It’s the difference between seeing every blade of grass and feeling like you’re playing in a fog.
Next, let’s talk throw ratio, which is basically how far your projector needs to be from the screen to fill it with that glorious course imagery. Short-throw projectors (think a ratio of 0.5:1 or lower) are clutch for tight spaces—perfect if you’re squeezing a setup into a spare bedroom or garage corner. They can project a big, beautiful image from just a few feet away. Standard-throw models (around 1.5:1) need more distance, so they’re better for larger rooms where you’ve got space to spare. Measure your area twice, because nothing stinks more than realizing your dream projector needs a room twice the size of what you’ve got.
Finally, there’s resolution, and this is where you separate a pixelated mess from a setup that feels like you’re stepping onto Pebble Beach. At a bare minimum, go for 1080p (Full HD)—it’s sharp enough for most golfers to see ball flight details and course textures without breaking the bank. But if you’re chasing the ultimate immersion, 4K is where it’s at. Yeah, it’s pricier, but the clarity on every divot and hazard is unreal, especially on bigger screens. Just make sure your simulator software and graphics can keep up—there’s no point in a 4K projector if your system’s pumping out visuals from a decade ago.
These specs aren’t just numbers on a spec sheet; they’re the blueprint for how your simulator will feel. Get them right, and you’re not just swinging in your basement—you’re out there on the course, wind in your hair, without ever leaving home.
Optimal Projector Placement for Crisp, Shadow-Free Play
Let’s get into the nitty-gritty of setting up your golf simulator projector for the kind of visuals that make you feel like you’re standing on the fairway at Augusta. Placement isn’t just a technical detail—it’s the difference between a setup that wows and one that frustrates. You want crisp imagery, zero shadows, and a swing space that feels natural, right? Here’s how to nail it.
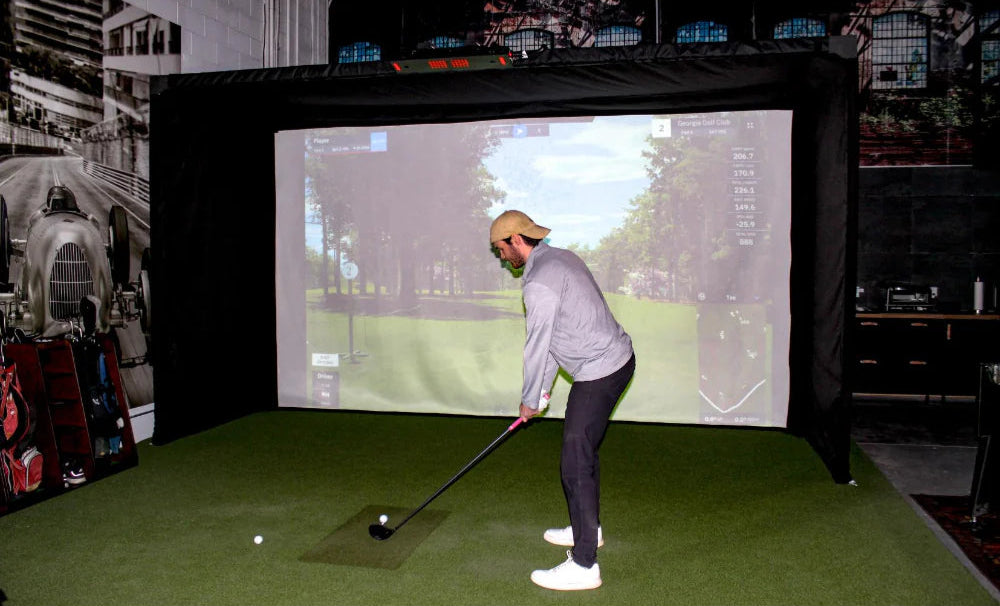
First, consider the throw distance. Most golf simulator projectors are short-throw or ultra-short-throw models, designed to project massive, high-def images from just a few feet away. Check your projector’s specs for the ideal distance to achieve a full-screen image on your impact screen—typically between 8 to 15 feet wide for that immersive vibe. Mount it too close, and you risk distortion; too far, and the image might bleed off the edges. Measure twice, project once.
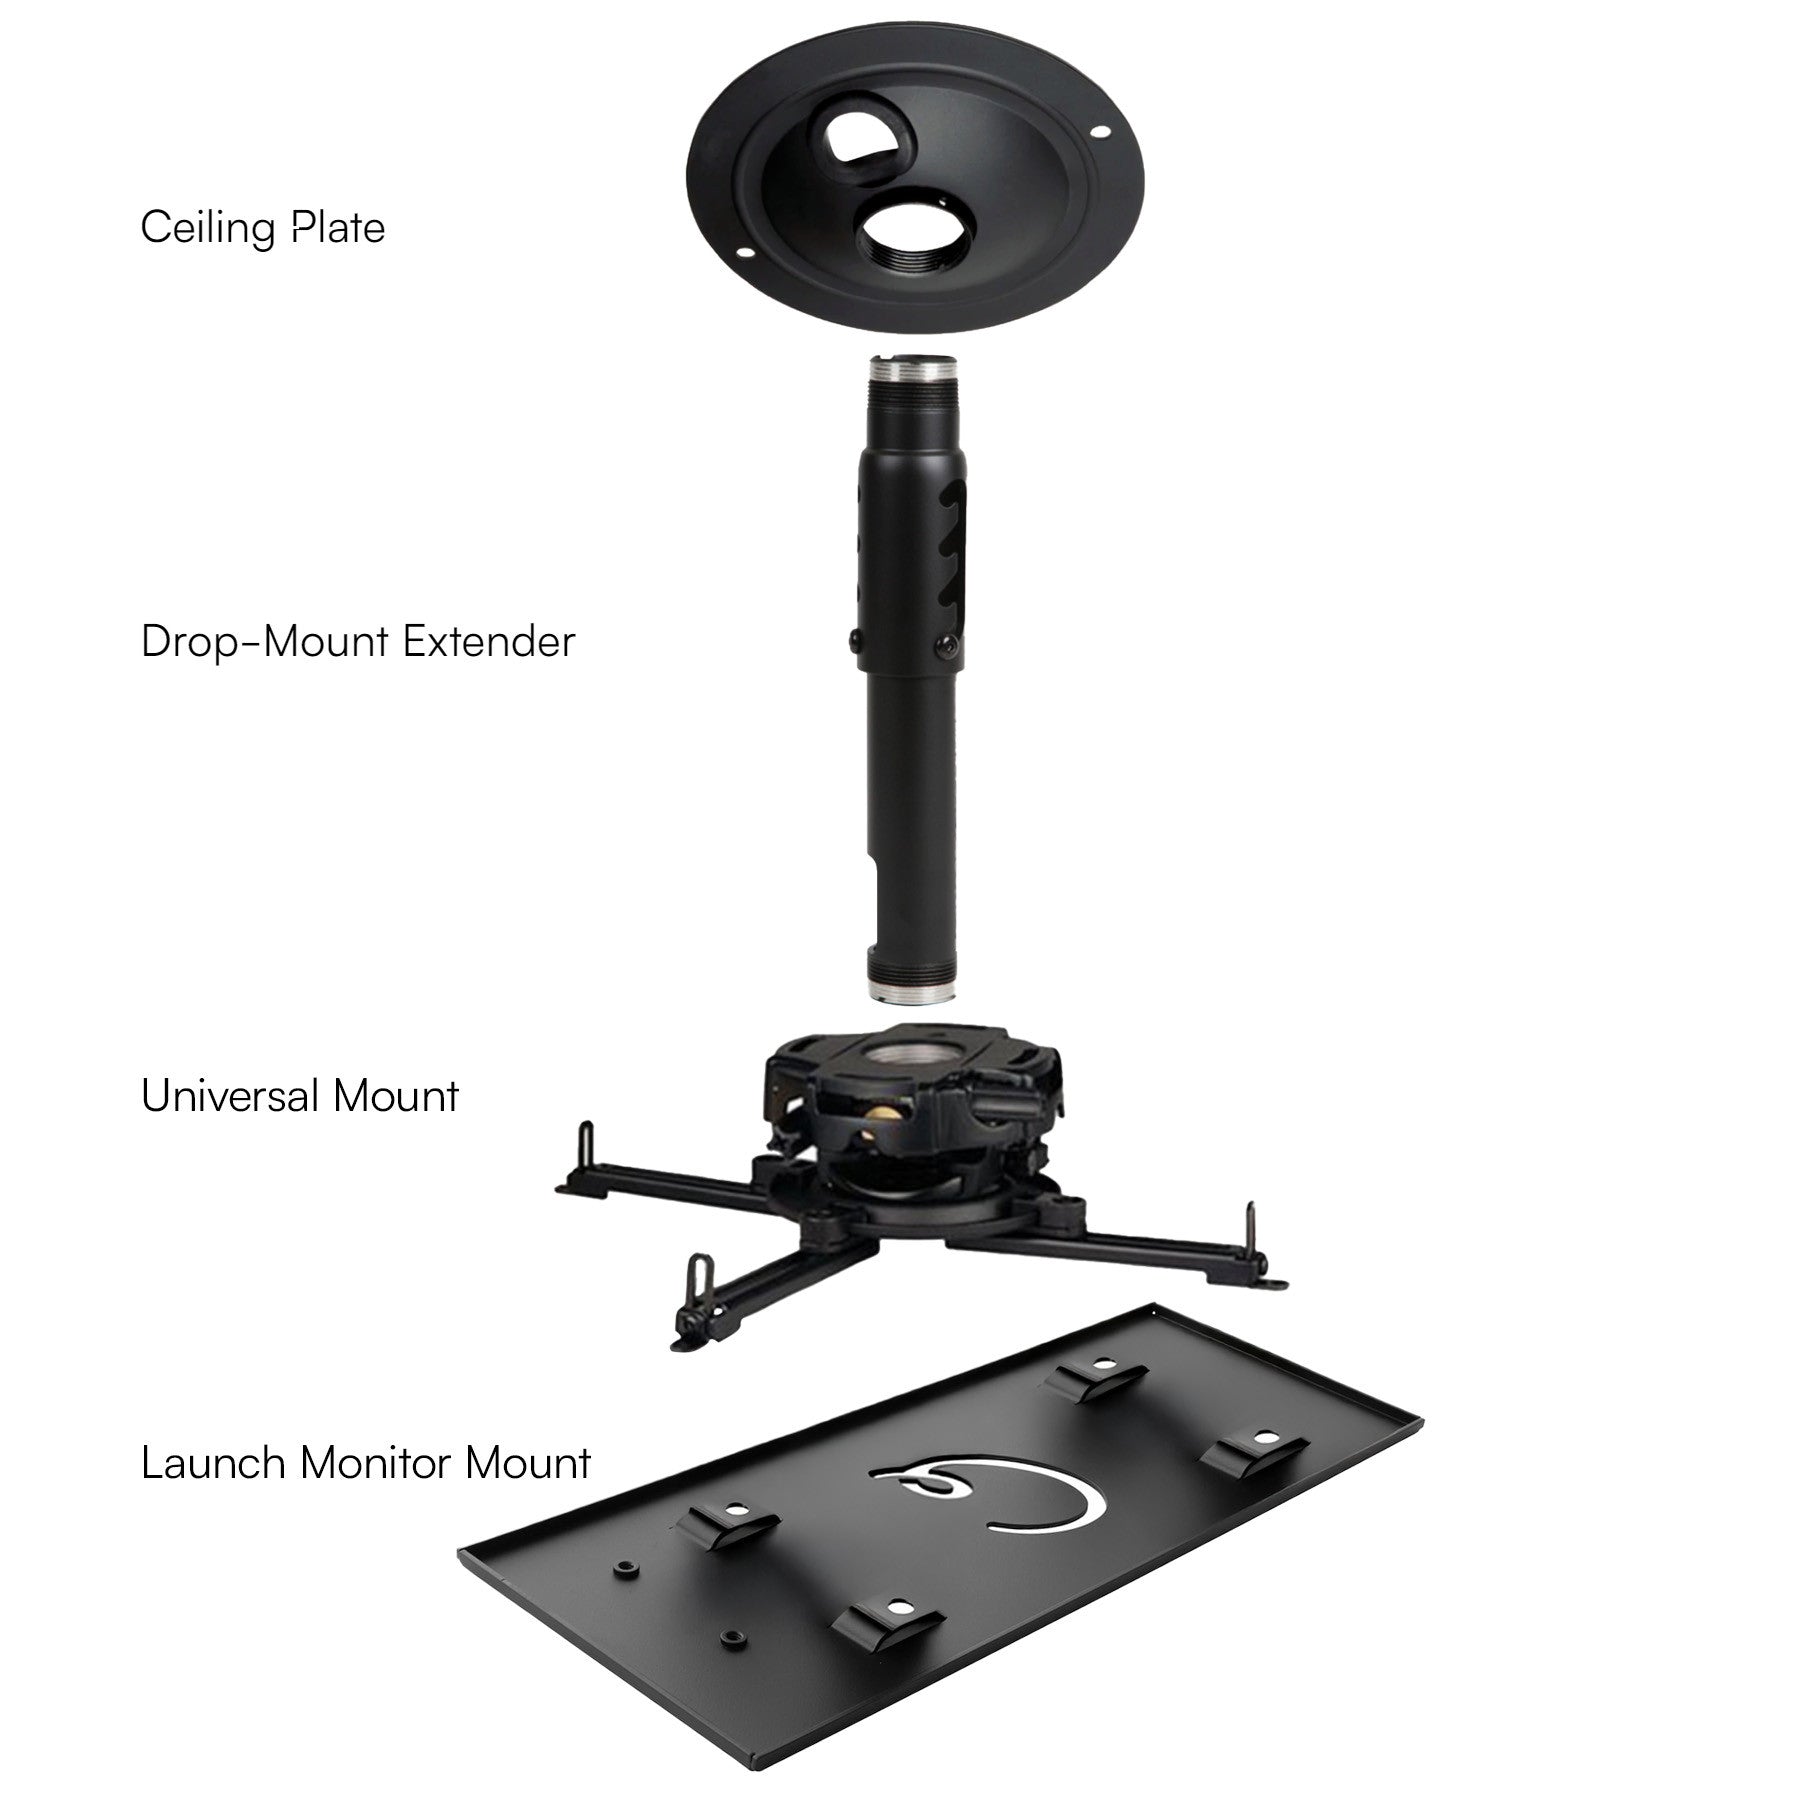
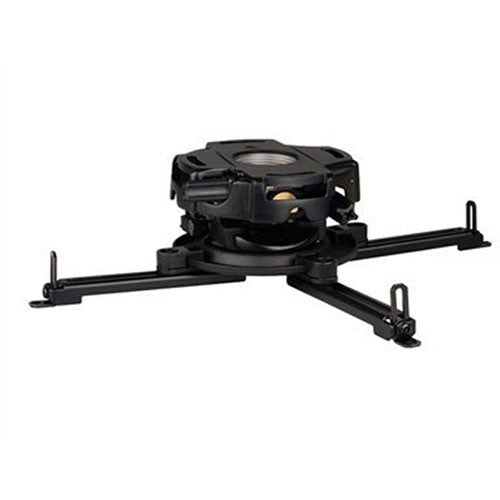
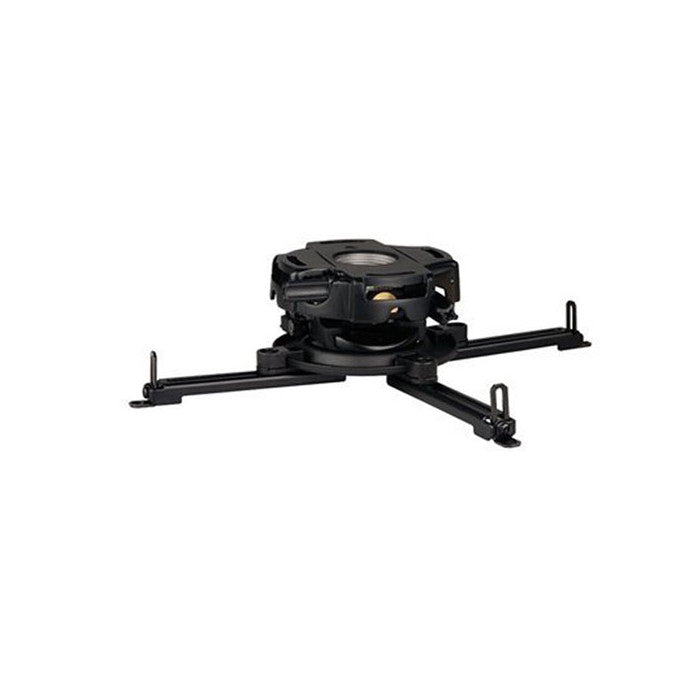
Ceiling mounts are the gold standard for a clean, professional setup. Why? They keep the projector out of your swing path—no accidental club-to-hardware disasters—and eliminate shadows from your body or club sneaking into the projection. Aim to position the projector slightly behind your hitting area, angled downward toward the screen. A good rule of thumb: the lens should align with the top third of your screen for optimal clarity. If ceiling mounting isn’t an option, a sturdy shelf or stand can work, but make sure it’s behind you and elevated to avoid casting a silhouette mid-swing.
Speaking of shadows, let’s talk about ambient light. Even the best projectors struggle in a brightly lit room. If your space has windows, invest in blackout curtains or shades. For artificial light, dimmable LEDs or indirect lighting can keep the room usable without washing out your display. You’re not just building a simulator; you’re crafting an experience. A dark, focused environment lets those rolling greens and distant bunkers pop in stunning detail.
Lastly, test your setup with a few swings. Fire up the projector, load a course, and take some cuts. Watch for any flicker, lag, or interference. If your shadow creeps in, tweak the angle or position. If the image feels off, double-check the alignment with your screen’s borders. This isn’t just gear—it’s your portal to the game you love, and getting this right means every shot looks and feels as real as the real thing.
Matching Screen Size and Aspect Ratio to Your Hitting Area
Let’s get into the nitty-gritty of setting up your golf simulator, because if there’s one thing that can make or break your virtual fairway experience, it’s getting the screen size and aspect ratio dialed in to match your hitting area. This isn’t just about slapping up a big display and calling it a day—it’s about precision, immersion, and making sure every swing feels as close to the real thing as possible.
First off, consider the space you’re working with. Got a tight spare room? You’re not cramming a 16-foot-wide screen in there unless you want to feel like you’re teeing off in a shoebox. Measure your hitting area—width, height, and depth from your stance to the screen. A general rule of thumb is to aim for a screen that’s at least 8-10 feet wide for a decent field of view, but scale it based on your room. If you’re swinging in a 12x12-foot space, a 9-foot-wide by 6-foot-high screen with a 16:9 aspect ratio often hits the sweet spot, giving you enough visual real estate without overwhelming the setup.
Aspect ratio is where things get interesting. Most modern golf simulator projectors pump out 16:9 or 16:10 visuals, which mimic widescreen TVs and give you that cinematic course vibe. But here’s the kicker: if your hitting area is taller than it is wide, or if you’re prioritizing vertical realism for those towering drives, a 4:3 ratio might actually play better. It’s less common, sure, but it can maximize your screen height and make every shot feel larger than life. Test your projector’s throw distance—how far it needs to be from the screen to fill the frame—and match that to your room layout. Too close, and you’re cropping the image; too far, and you’re losing detail.
Don’t sleep on screen material either. A high-gain screen can boost brightness if your projector isn’t the most powerful, but it narrows the viewing angle—fine for solo sessions, less ideal for group play. Standard impact screens designed for golf simulators are your best bet, built to take a beating from errant shots while still delivering crisp visuals. Pair that with a projector pushing at least 3,000 lumens for daylight play, and you’re golden.
The goal here is balance. You want a setup where the screen feels like an extension of the course, not a distraction. Walk into your hitting area, take a practice swing, and imagine the green stretching out before you. If the screen feels too small, you’ll lose that magic. Too big, and you’re risking distortion or, worse, a sliced ball straight through the drywall. Map it out, measure twice, and pick a combo of size and ratio that pulls you into the game.
Protecting Your Projector from Errant Shots and Dust
Let’s face it: when you’re swinging indoors, even the best of us can send a ball screaming in a direction we didn’t intend. And while a golf simulator projector is a marvel of tech—beaming crisp fairways and greens right into your home—it’s not built to take a Titleist to the lens. Add in the sneaky menace of dust, and you’ve got a recipe for a shortened lifespan on a piece of gear you’ve likely invested a good chunk of change in. But don’t worry, there are some battle-tested ways to keep your projector safe and humming along for countless rounds.
First up, shielding it from wayward shots. Positioning is your frontline defense—mount that projector high and out of the typical flight path of a shanked drive. Ceiling mounts are gold here, keeping the unit above the chaos of your swing zone. If that’s not an option, think about a protective enclosure. Some setups come with custom cages or shields designed specifically for golf simulators, acting like a digital goalie for your tech. A quick DIY hack? Rig up a net or barrier between your hitting area and the projector. It doesn’t have to be fancy—just enough to catch a rogue ball before it turns your optics into a pricey paperweight.
Dust, though, is the silent killer. It creeps into vents, clogs fans, and dulls image quality faster than you’d think, especially in a garage or basement setup where air isn’t always pristine. A simple fix is a dust cover when the projector’s not in use—think of it as a cozy blanket for your gear. If your space is particularly prone to debris, consider a small air purifier nearby to cut down on floating particles. And don’t skimp on regular maintenance: a can of compressed air or a soft microfiber cloth can work wonders on keeping vents and lenses clear. Just power down and unplug before you play janitor—no one needs a static shock mid-clean.
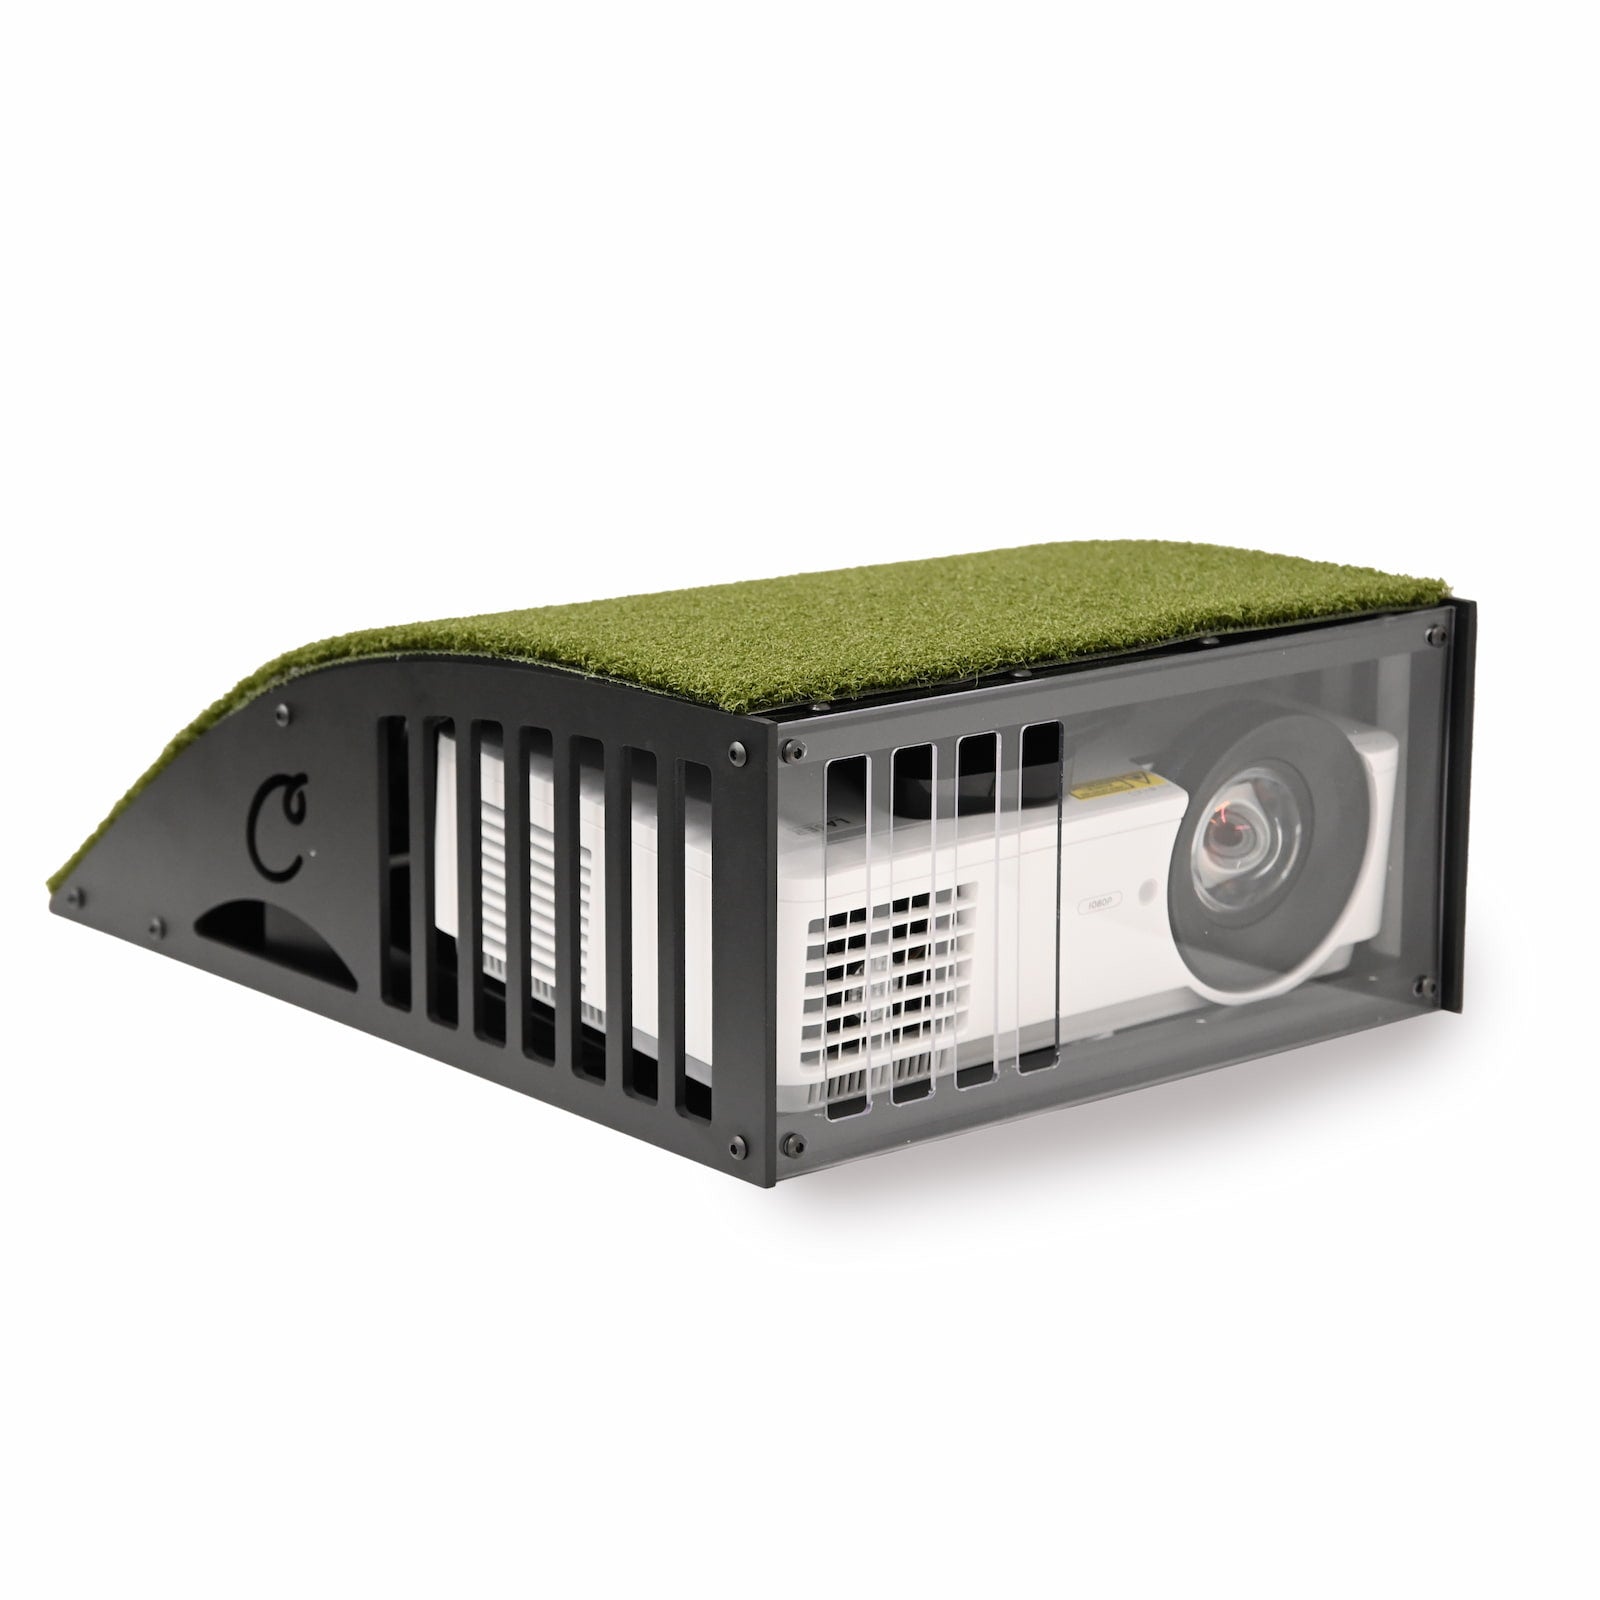
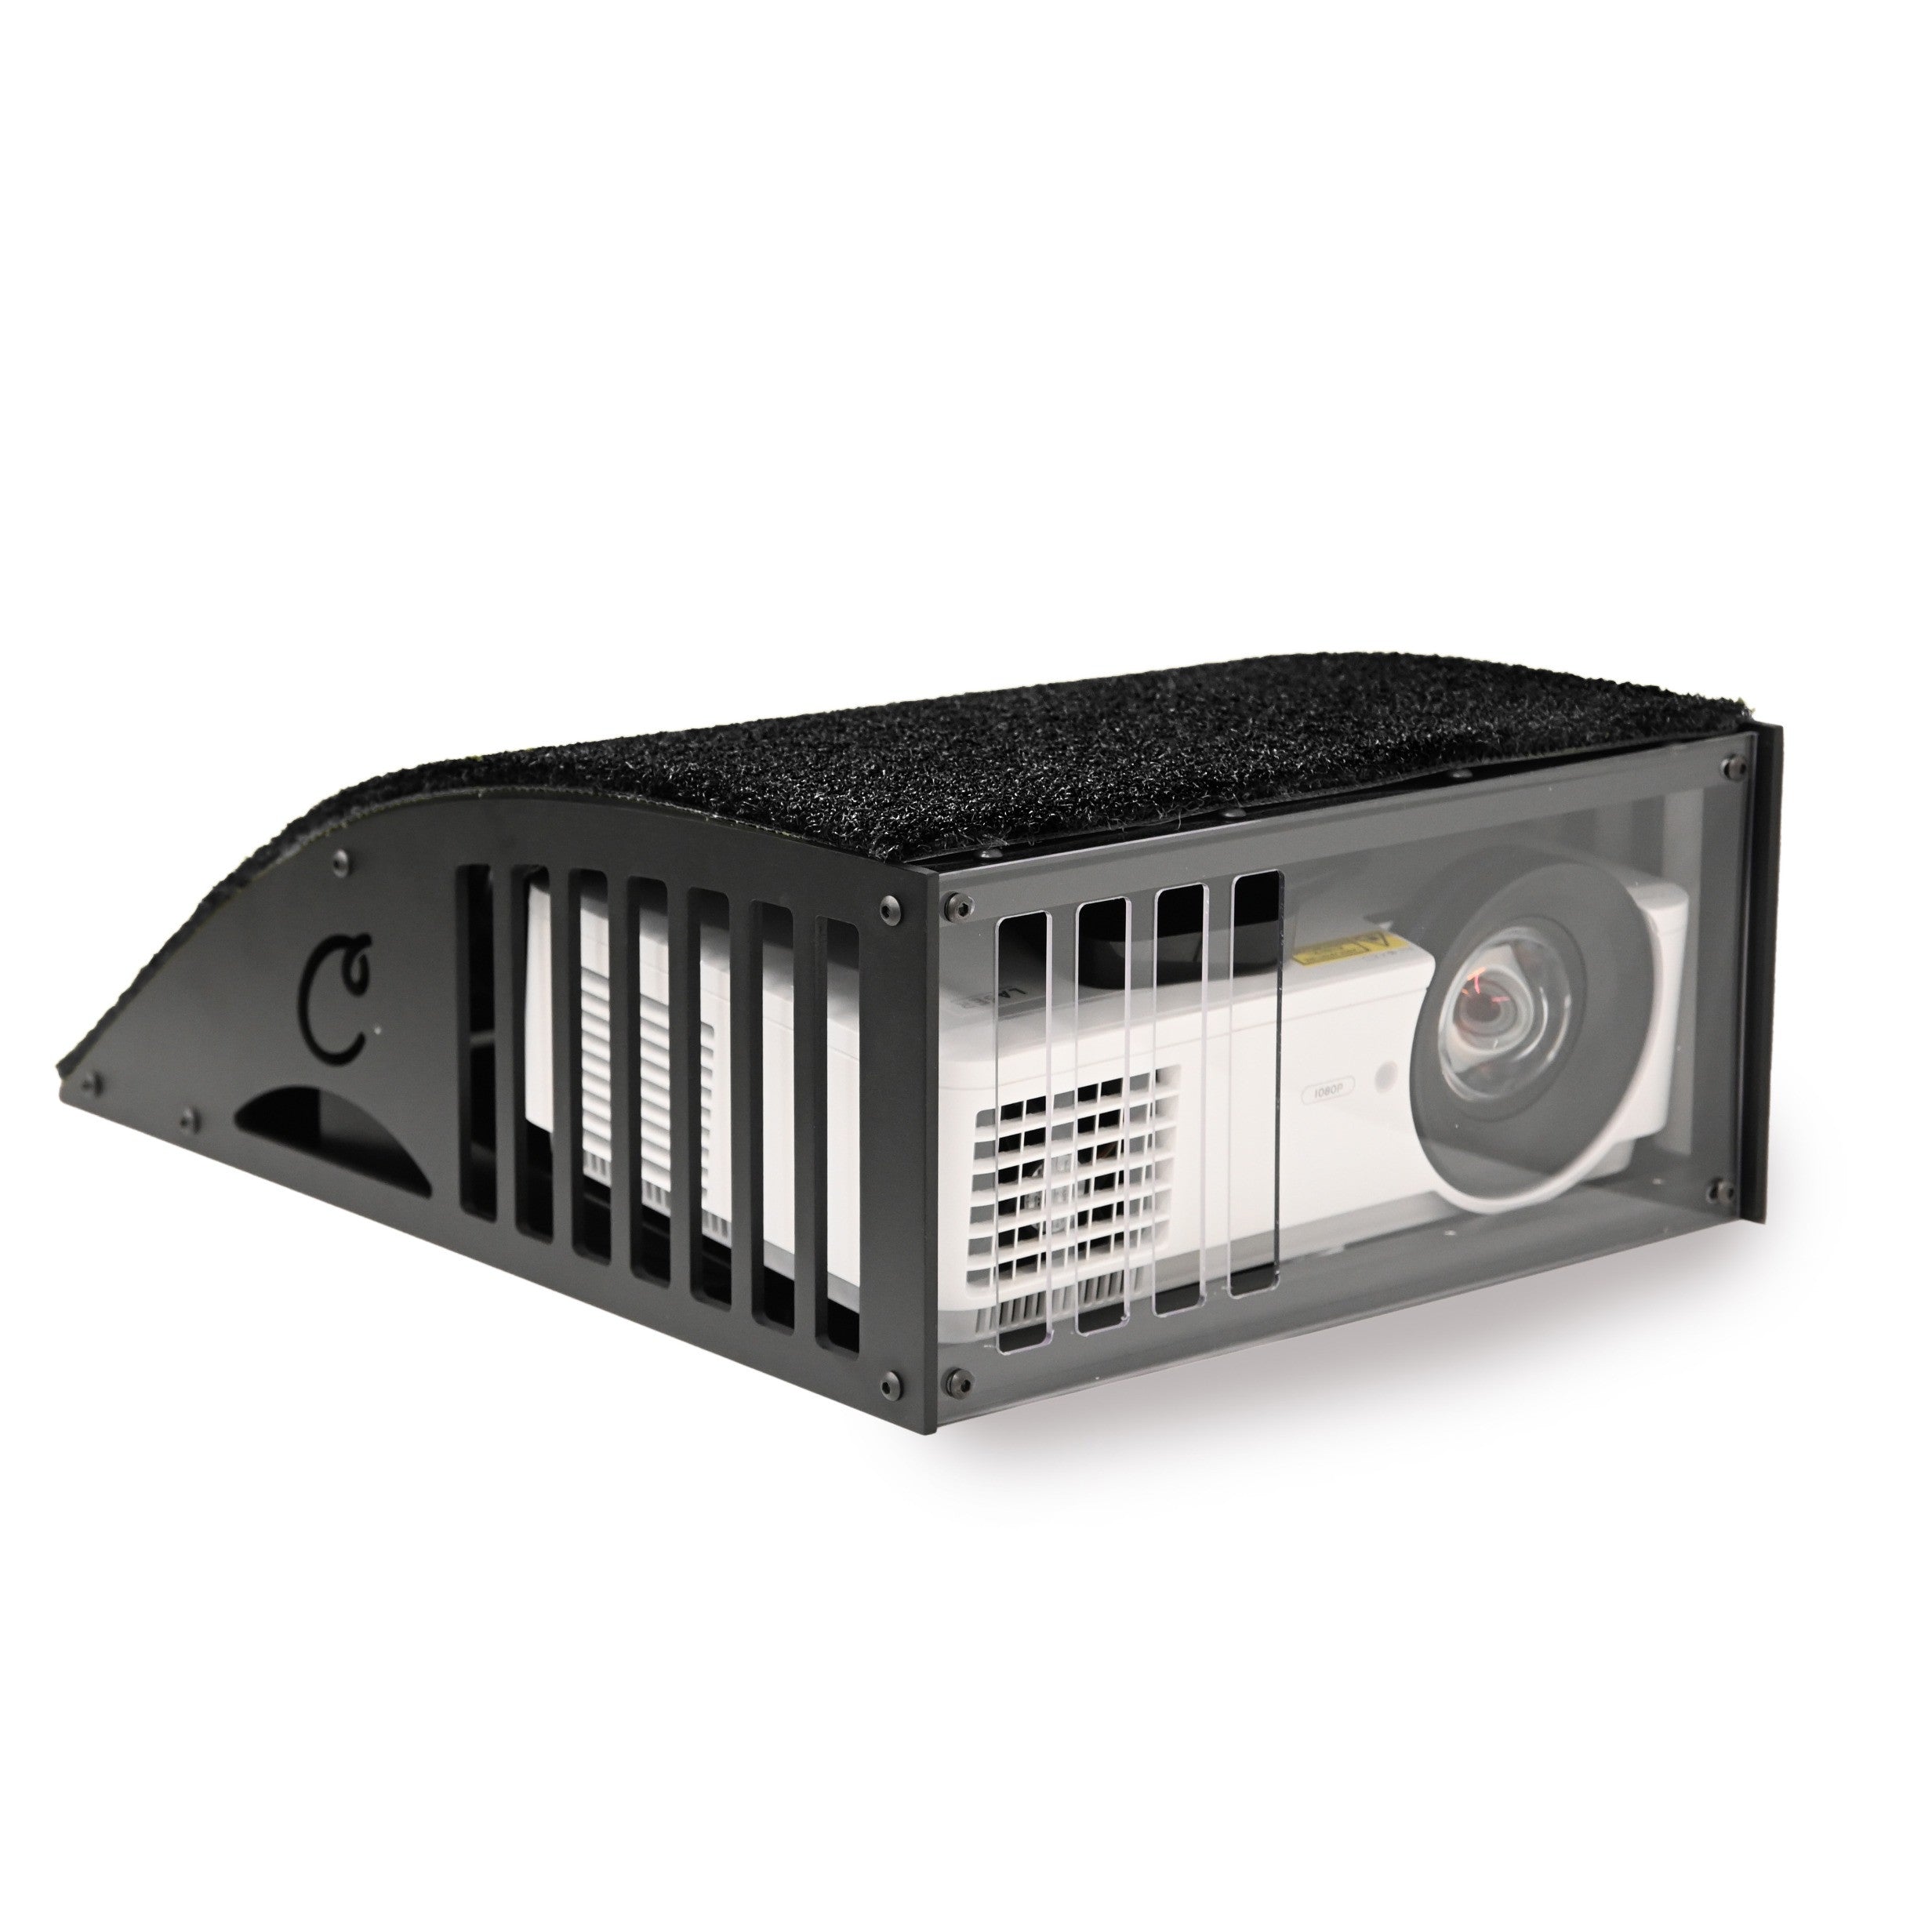
Carl’s Floor Mounted Projector Enclosure shields short-throw projectors from flying balls and ricochets while keeping cables tidy; the turf top blends cleanly with Carl’s hitting mats for a seamless, pro look. Its durable aluminum body with a clear polycarbonate front and included angled wedges makes it easy to protect your gear and fine-tune the projection angle on the floor.
These aren’t just tips; they’re your insurance policy for keeping the magic of 18 holes alive in your home, no matter how wild your swing gets or how dusty your den is. Take a few minutes to set up these safeguards, and you’ll be teeing off with peace of mind, knowing your projector’s got armor against the unexpected.
Frequently Asked Questions
A golf simulator projector is the heart of your indoor setup, projecting those lush fairways and tricky greens right onto your impact screen. It’s not just any projector—it’s specially chosen to handle the bright, dynamic visuals of golf simulation software, delivering crisp images so you feel like you’re standing on the 18th at Pebble Beach. At Golf Simulator Depot, we’ve got projectors that pair perfectly with your setup, ensuring every swing and putt looks as real as it gets. Let’s bring the joy of golf into your home with gear that’s up to par!
Look, we get it—you’ve got a projector sitting around from movie nights and think, “Why not?” But here’s the deal: regular projectors often fall short for golf simulators. They might lack the brightness to combat ambient light or the resolution to render detailed course graphics. Worse, they’re not built for the constant use or specific throw distances a simulator demands. At Golf Simulator Depot, we curate projectors designed for this game, so you’re not stuck with blurry visuals or a burned-out bulb mid-round. Trust us, the right gear makes all the difference.
Let’s break this down, because space matters in your home setup! Short throw projectors are absolute game-changers if you’ve got a tight room—they can project a massive image from just a few feet away, perfect for compact simulator builds. Standard throw projectors, on the other hand, need more distance to create that big, immersive screen, often ideal for larger spaces or ceiling mounts. At Golf Simulator Depot, we’ll help you figure out which fits your space and budget, ensuring your setup feels like a pro studio, no matter the square footage.
Alright, let’s talk tech! Laser projectors are stealing the spotlight in the golf simulator world, and for good reason. They offer incredible brightness, sharper images, and a longer lifespan compared to traditional lamp-based models-no more dimming bulbs after a few hundred hours. They’re also low-maintenance, which means more time swinging and less time tinkering. Are they worth the higher price tag? For many of our customers at Golf Simulator Depot, absolutely. We’ve got options to match your goals, so you can decide if laser is your hole-in-one.
Aspect ratio might sound like nerdy jargon, but it’s a big deal for your simulator experience. It’s the shape of the projected image—think 16:9 for a widescreen vibe or 4:3 for a more traditional boxy look. Get this wrong, and your golf course might look stretched or cropped, throwing off your immersion and even your swing data. Most modern golf software plays best with 16:9, and at Golf Simulator Depot, we make sure your projector matches your screen and software perfectly. We’re here to help you build a setup that’s seamless and stunning.
Resolution is where the magic happens—higher numbers mean sharper, more detailed visuals. For golf simulators, we’re talking 1080p (Full HD) as a solid starting point, but 4K is the real sweet spot if you want every blade of grass and scorecard detail to pop. Lower resolutions can leave courses looking pixelated, especially on bigger screens. At Golf Simulator Depot, we’ve got projectors across the spectrum to fit your budget, ensuring you get crystal-clear graphics that pull you into the game. Rain or shine, we’re bringing the joy of golf right to your doorstep with setups that simply work!